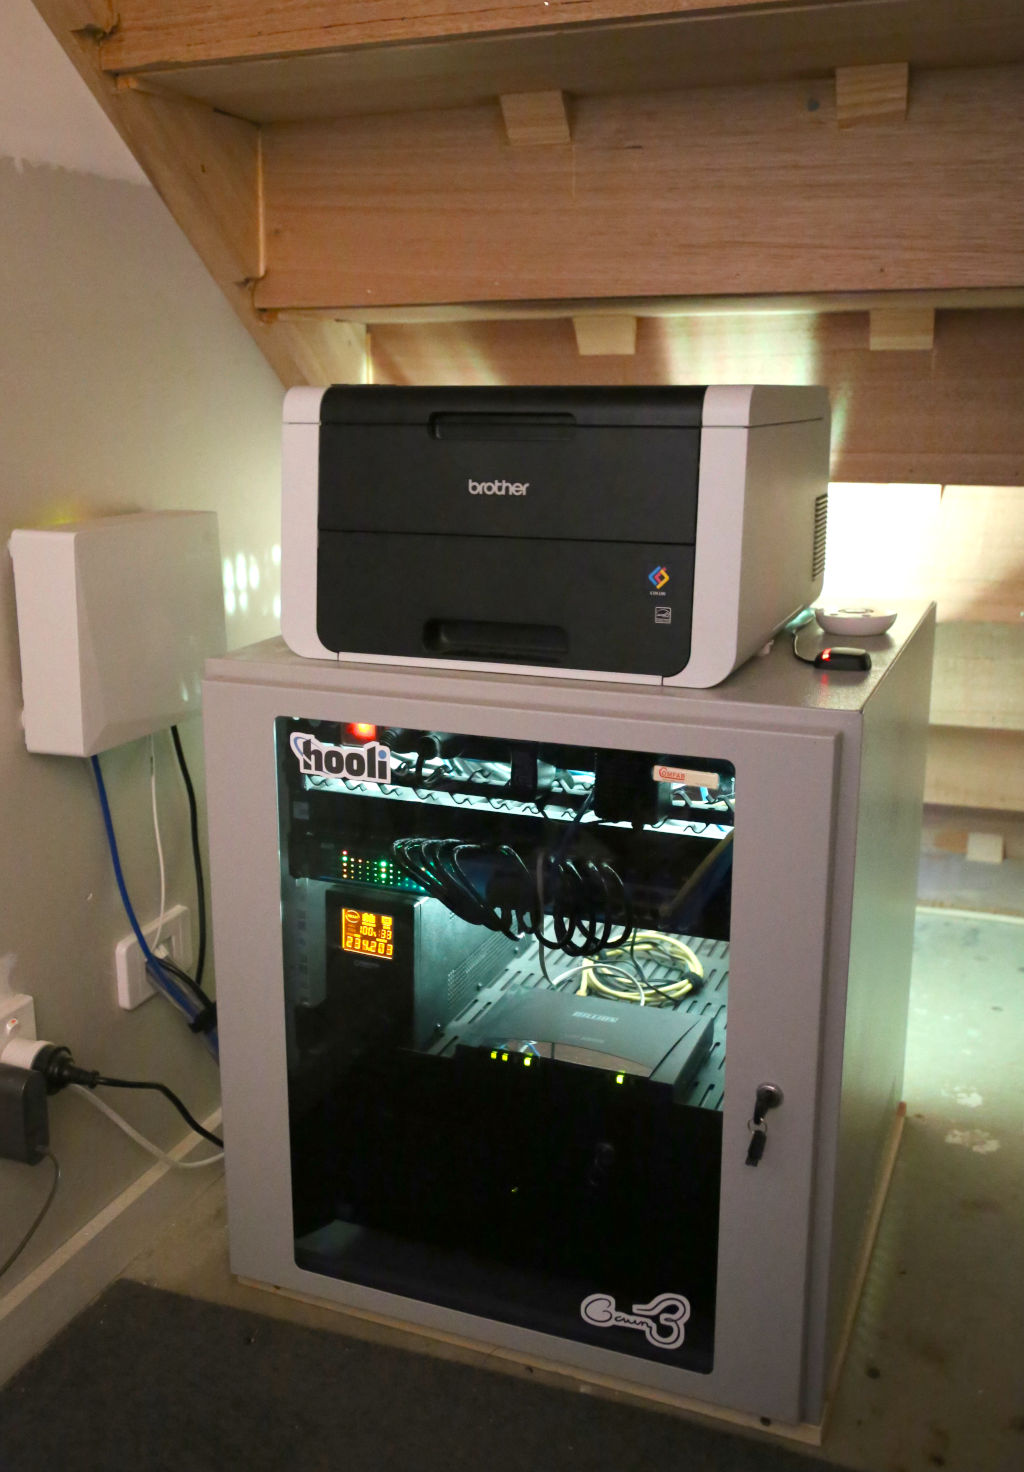
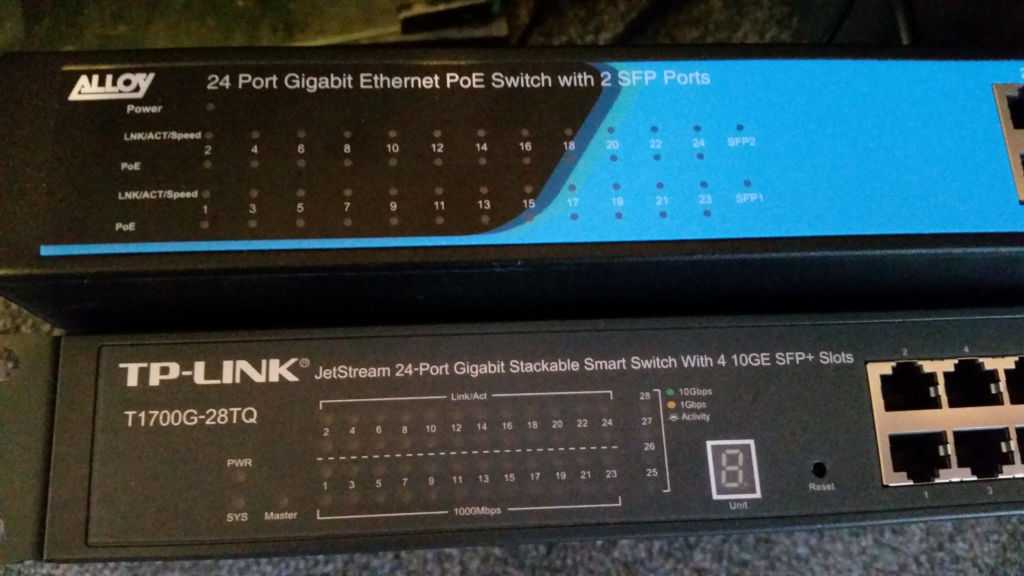
Here’s my current homelab. It’s a basically comms cabinet with a 24-port unmanaged PoE switch and a single 4-core server with two 5400RPM data drives and an NVMe OS drive. This post is a timeline of its build, and an explanation of all the little tidbits it has attached to it.
Harnessing the house
I had planned for a comms cabinet under the stairs while the house was still a blueprint. I made sure every diagram showed the comms line going into the staircase, as many designers like running it into the kitchen or somewhere you could stick a consumer-grade wireless router, but not a commercial rack cabinet.
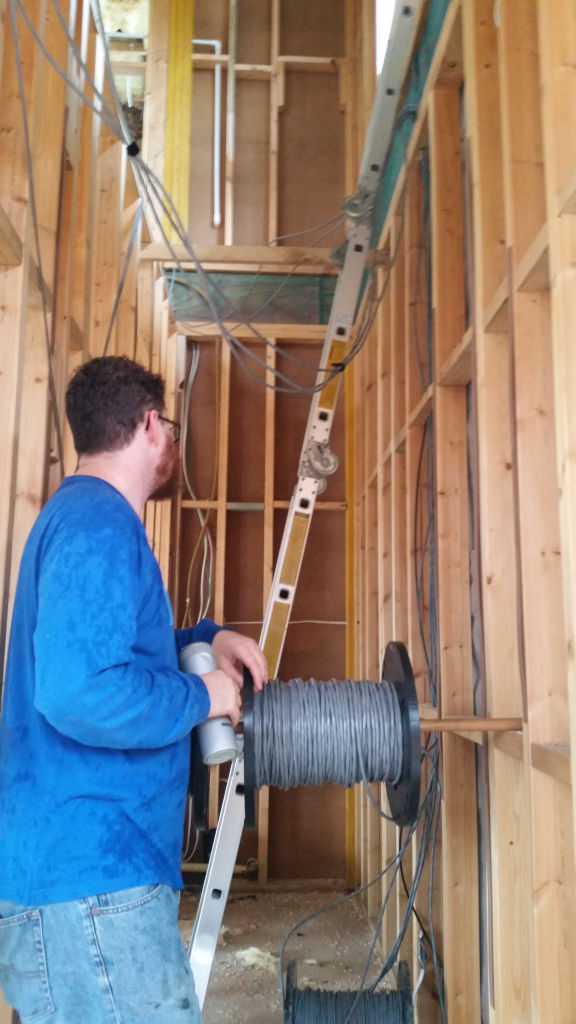
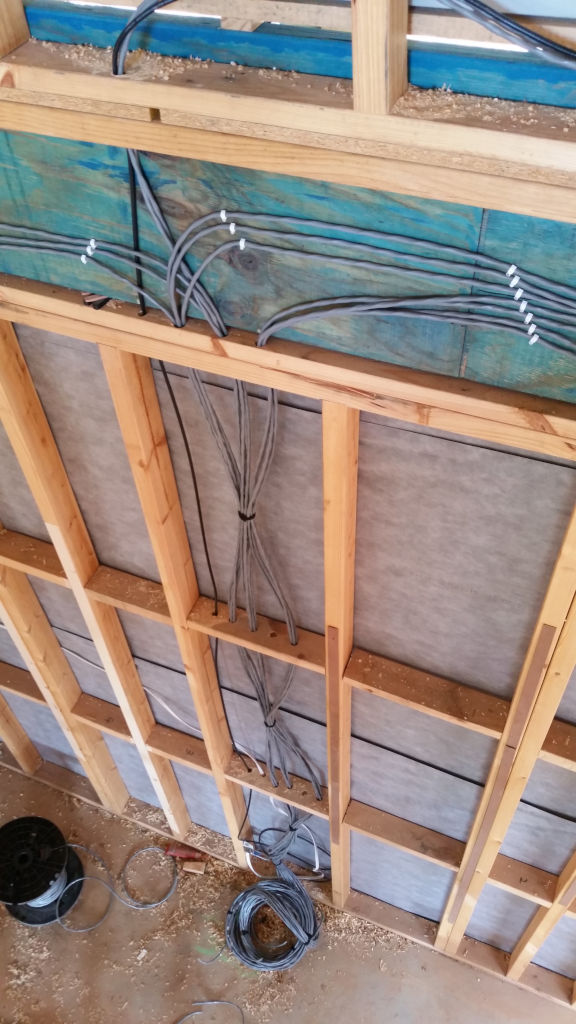
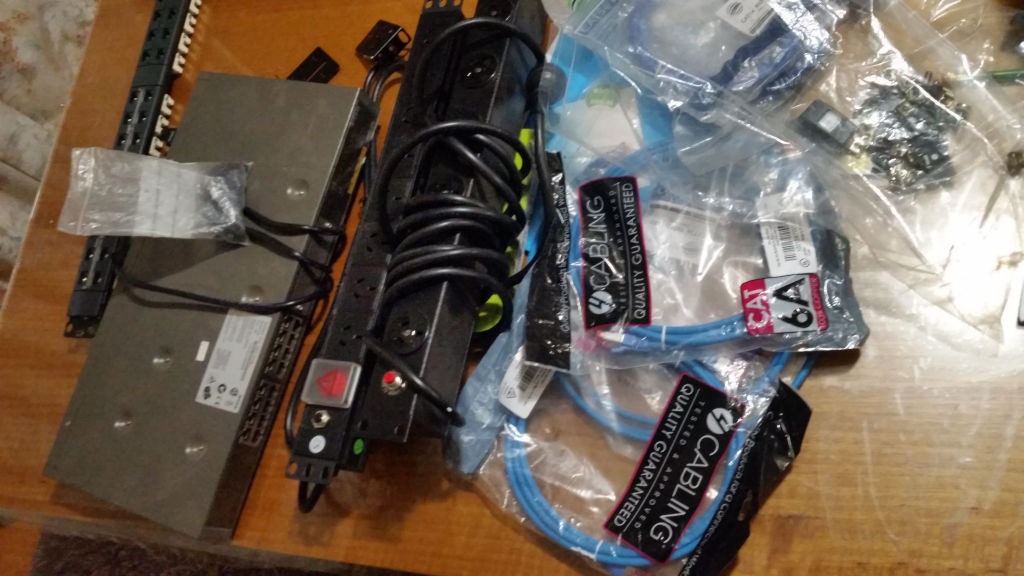
The first step was to procure some CAT6A cabling. I found a guy on facebook marketplace selling 3x semi-used drums for $100. He claimed it was leftover from a job, but my mates in the trade reckon it was deadset nicked from site.
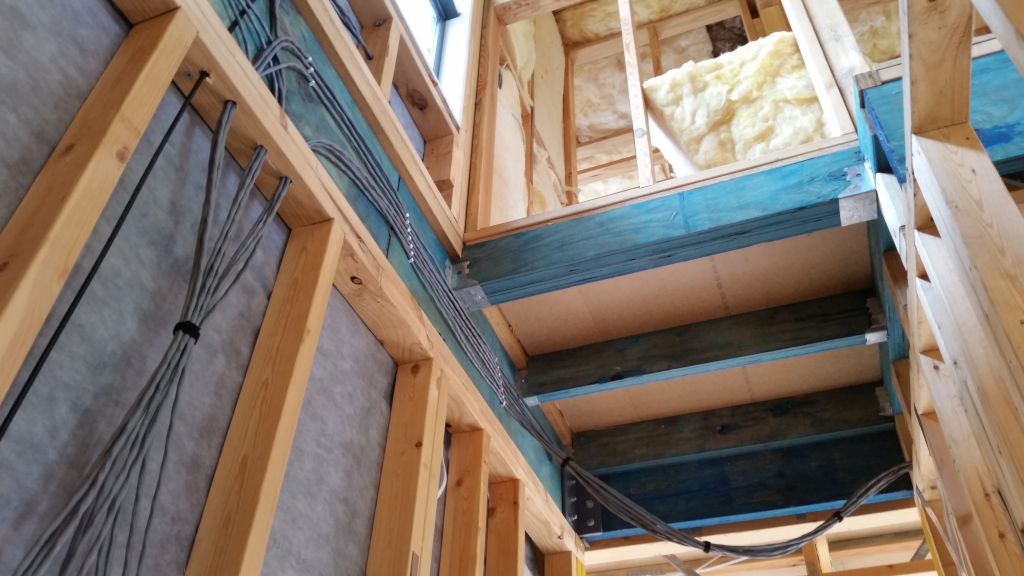
I had chosen a medium-sized custom builder who let me do stuff during the build, which included some cabinetry, painting and data wiring. If you pay a mate a with bottle of fine scotch, you’ll find it much easier to do the cable runs. I did twelve in total. This fed the TV spots, the office and the kids’ bedrooms. Two of the runs ran into the upstairs roofspace. We’ll get into that later.
The Hunt for Comms Equipment
The single easiest way to keep the costs down: Don’t buy new.
Here’s my playbook for sourcing stuff:
- Your last desktop is the best platform for your next server.
- Old commercial/enterprise gear is almost always better than new consumer-grade gear, and it almost always cheaper. Companies throw out equipment once the support contract is up, and it’s still perfectly serviceable for home.
- Tell your IT/sparky friends about your project. You’ll be surprised how much spare stuff they have laying around accumulating dust.
- If you’re after specialised stuff, try facebook marketplace and gumtree.
The Pre-Deploy
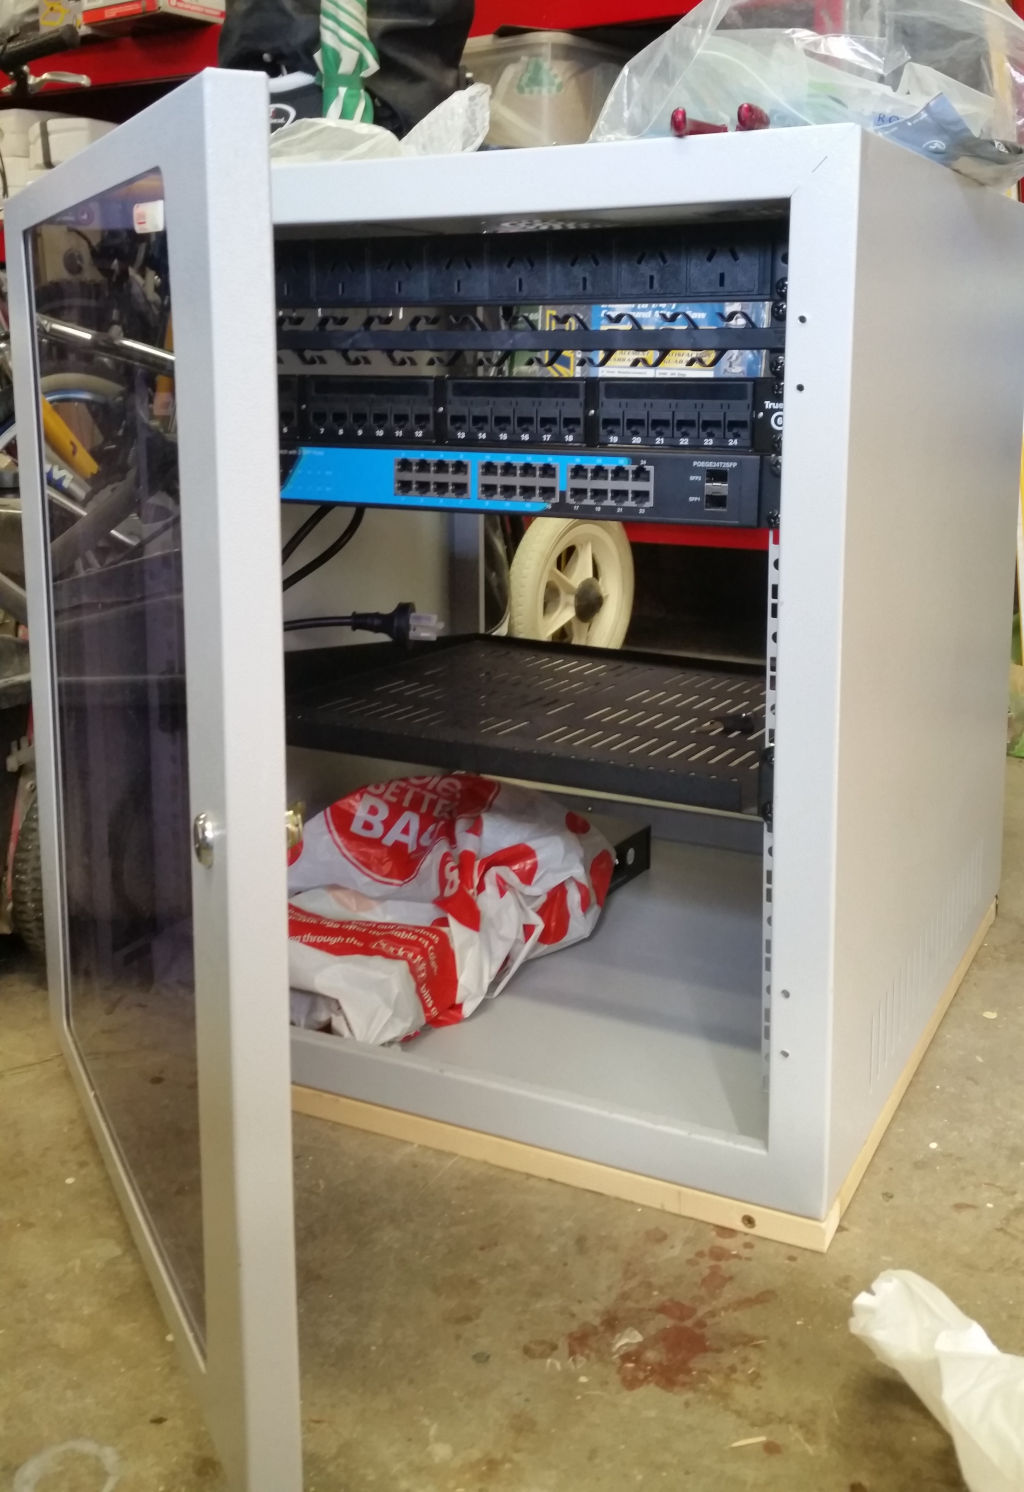
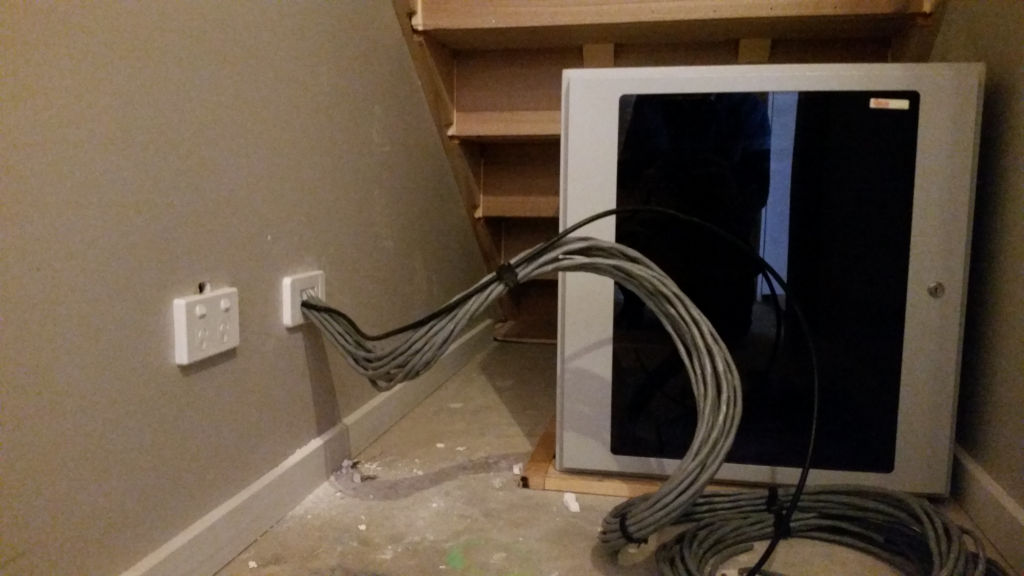
During the house construction, I dropped off the cabinet and tucked it under the newly-built staircase. At this point, I could terminate the patch panel with a punchdown tool.
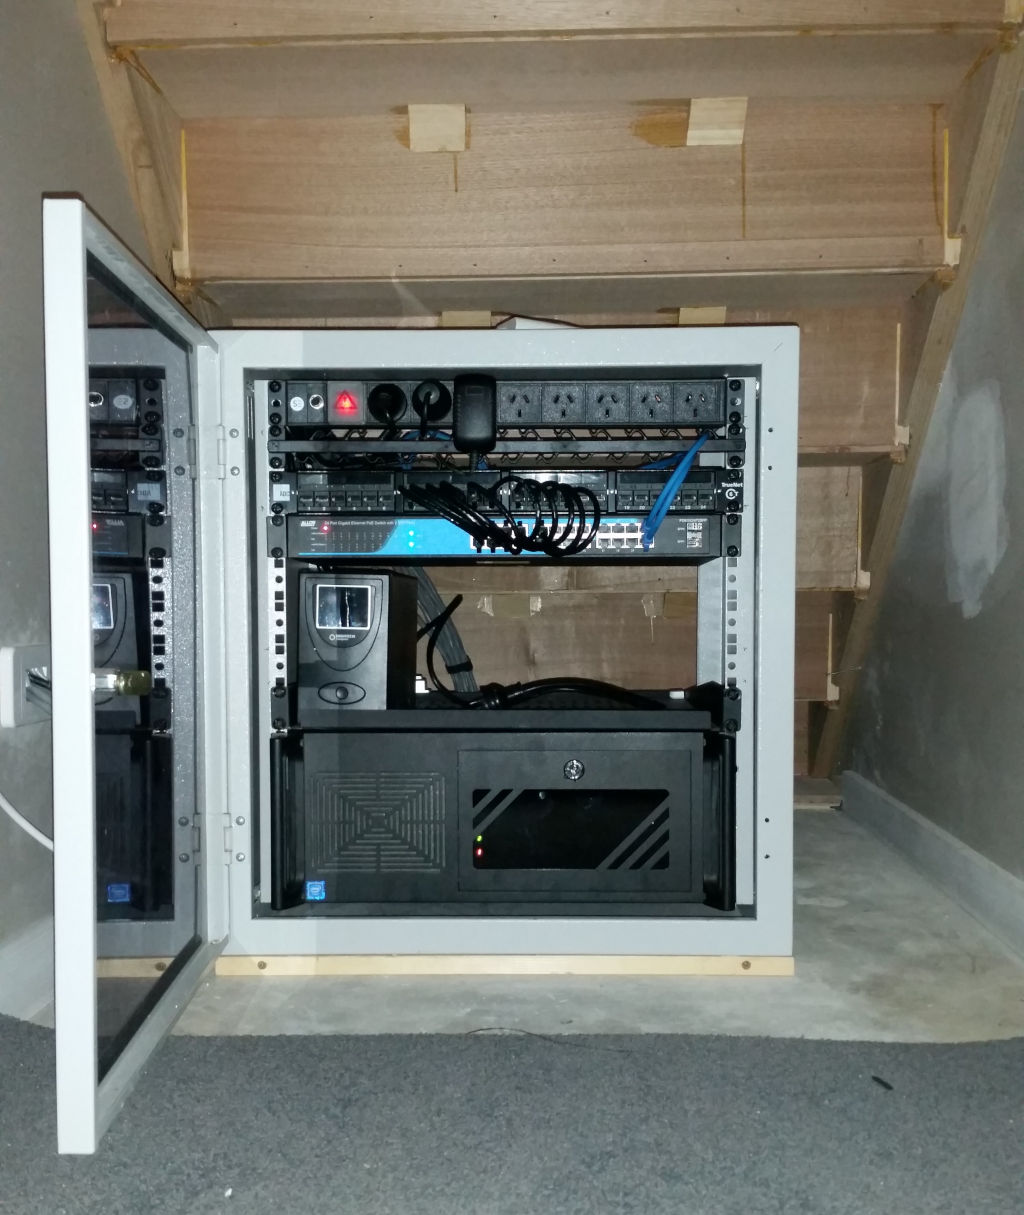
The next step was to find a server case. There was a nice 4U case that I had in mind, but a case showed up in the e-waste bin at work. I also scored a UPS with a flat battery. Yes, this was literal dumpster diving.
At this point, the server had power, but the internet was from a 4G dongle which could barely pull 1Mbps. It was also behind CGNAT so I couldn’t actually serve anything with my server.
Moving In
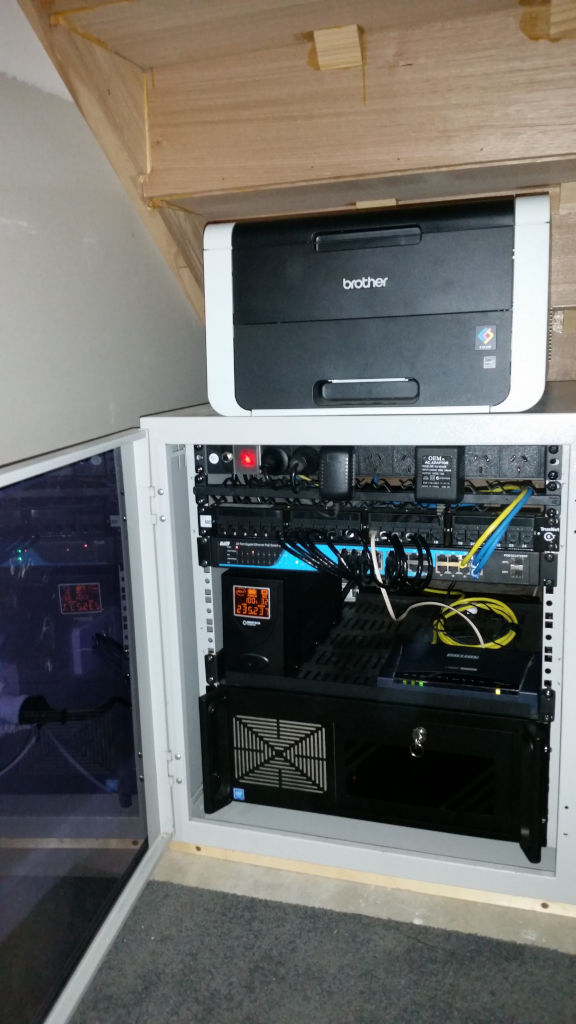
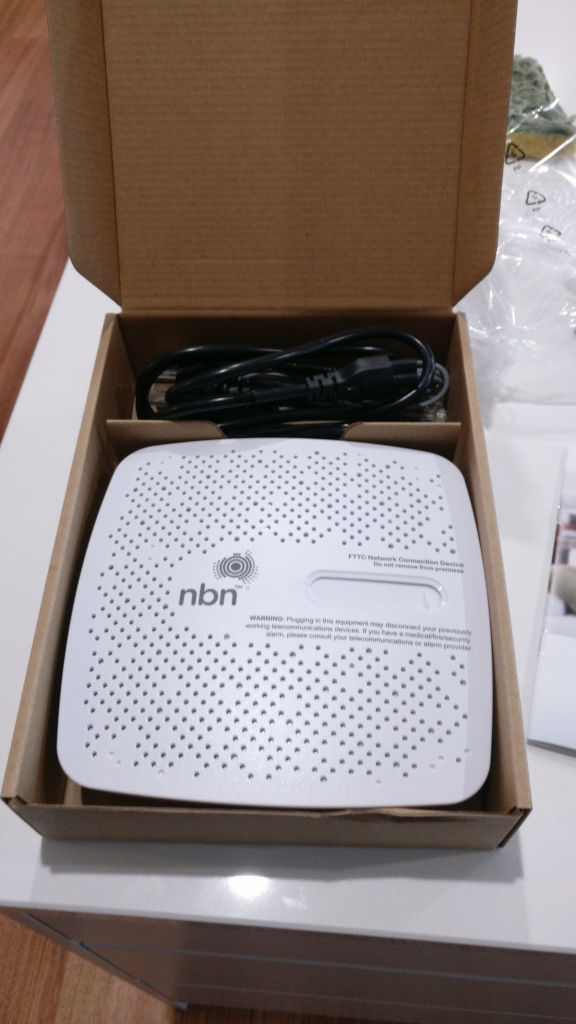
After I (officially) obtained the keys to the house, I could start moving my stuff in. I unboxed my printer and my VoIP ATA.

At this stage, I still don’t have fixed-line internet because the NBN connection that was promised to go-live in my street in 2013 wasn’t done yet. It was May, and Scotty from Marketing assured the country that the network would be complete and functional by June.
Fixed Line Internet Round 1
So, it was early July and it was finally my appointment to get NBN installed. I already knew what the tech was in for, so I did a bit of preparation work. The builders omitted about 1.5 metres of trench, and they didn’t add any means to pull a cable through the pit, as they had plastered the wall where the cable had come in. The gasfitter, a total retard, had pulled on the drawstring for the comms conduit, thinking it was a gas conduit. I had to get the electrician out to re-run the drawstring. I also pre-dug the missing stretch of trench. I had to dodge gas, power and water to do it. Had I not done all of this, the tech would have just gone home.

For the next few weeks, this was my internet connection. The 1Mbps 4G connection was now 100/40Mbps FTTC. I had no CGNAT, no data caps, and I had native IPv6. All was good.
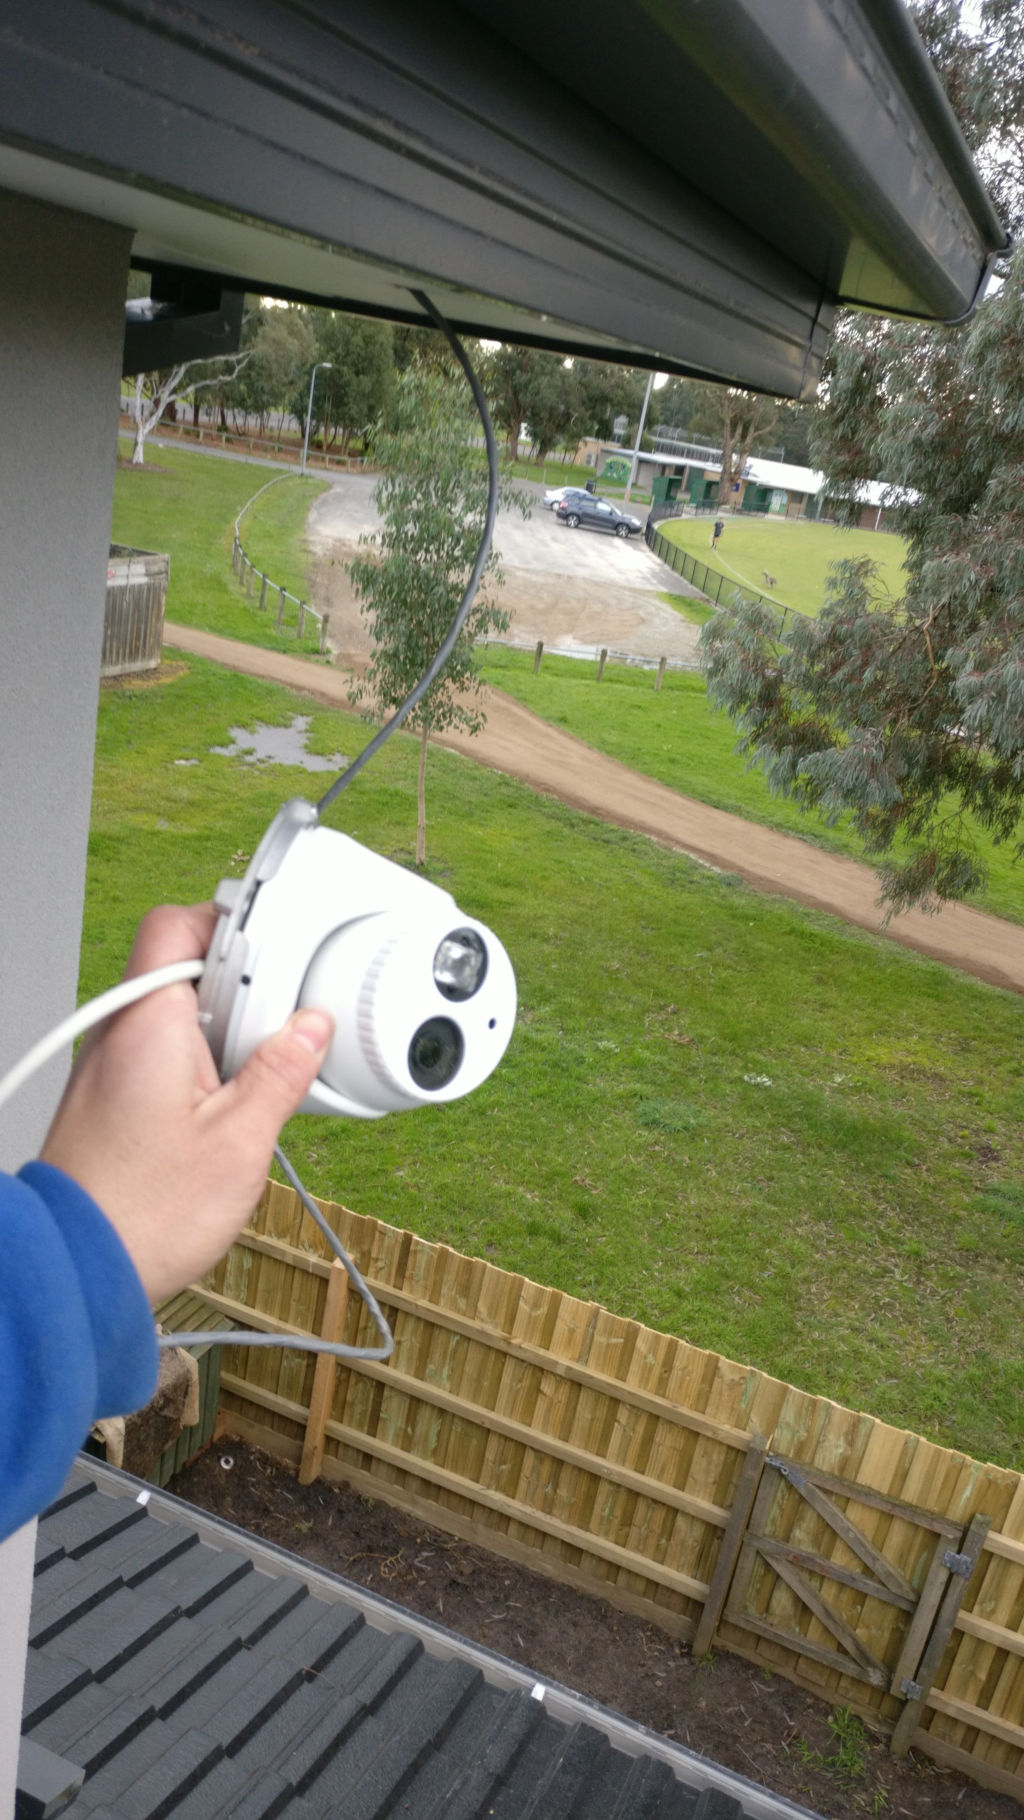
Home Security
My uncle brought home a box of Hikvision IP security cameras when his company upgraded their security systems. I grabbed one, and made use of one of the two CAT6 runs that I had run to my upstairs roof. I installed ZoneMinder on my server, and with a bit of RTSP magic I had CCTV surveillance.
Fixed Line Internet Round 2
Remember how in July they installed FTTC? Literally one week later, another NBN team showed up unannounced on my doorstep to connect me. I explained that I was already connected. They claimed that they were told to run fibre all the way to the premises.
It turns out there was a bit of a mix up at NBNCo. I had applied for a new home connection with them directly. I had also pre-ordered NBN through Aussie Broadband. I suspect I somehow had two concurrent applications for new connections of different types. I was kind of shitty that after paying thousands of dollars for the comms pit, they had run copper through it. So, I told them to go ahead and rip it up to run fibre.
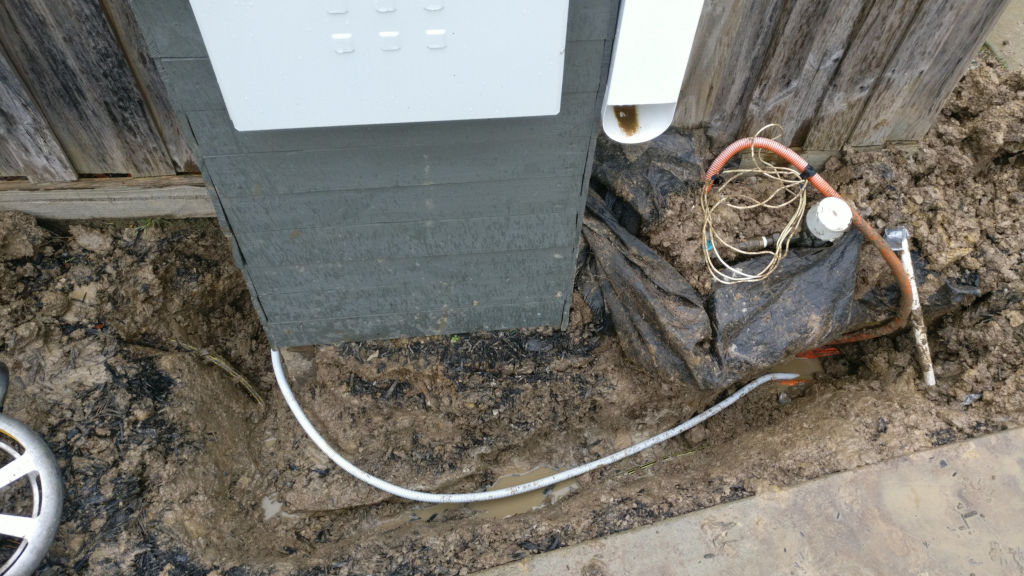
It turns out that flexible conduit doesn’t allow for cable to be pulled through it easily. When the techs realised that the cable did not pull easily, I grabbed the photos I had taken of the pit before I filled it in. This meant that they knew exactly where it was catching, and where the gas, water and electricity pipes were nearby. With this we could continue.
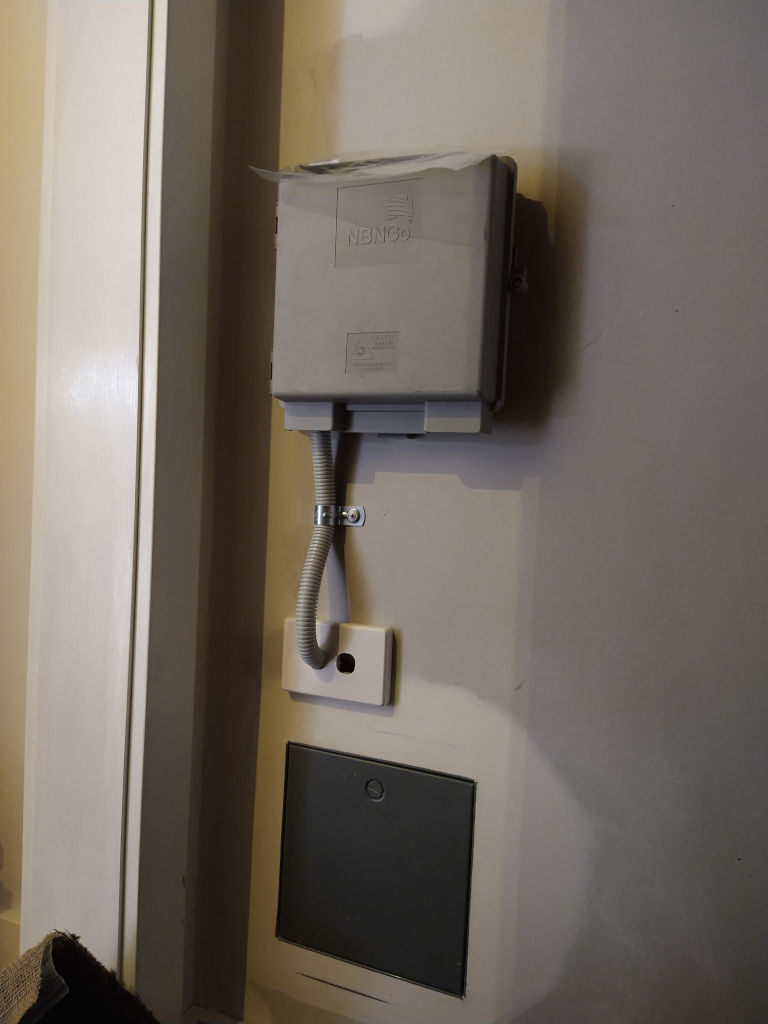
The new fibre box next to the access panel I had installed to make life easier for the NBN techs. 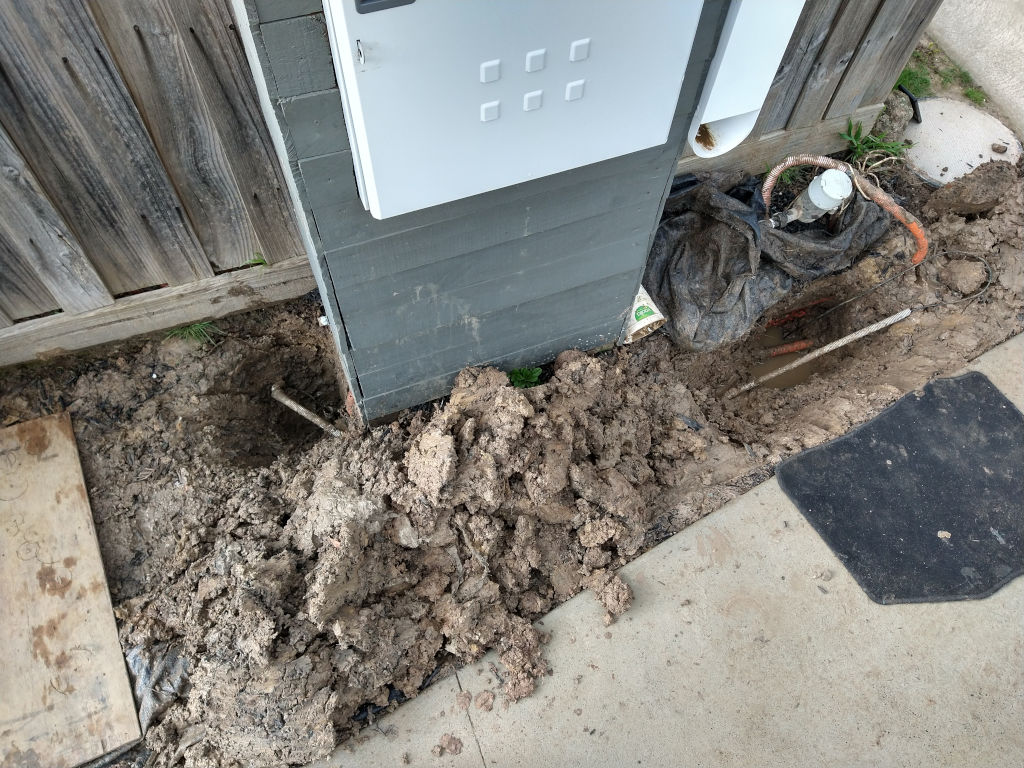
Digging it all up, again.
At this stage, I had fibre running into the space under the stairs, about 2 metres away from my server. I was told that another team would come in the coming days to install the NTD, and get me online with FTTP.
What I got instead was an email from NBNCo saying that my new development application had been withdrawn on the grounds that I was already connected to the NBN network. This arrived mere days after the techs had run the fibre. Normally NBNCo charge several thousand dollars for this upgrade, so I was very glad that I had gotten this far for free. After a few discussions with NBNCo I managed to convince them that they’d done so much already that they might as well finish the job. About a month later, it was completed and I had a 1000/50Mbps with a super low latency.
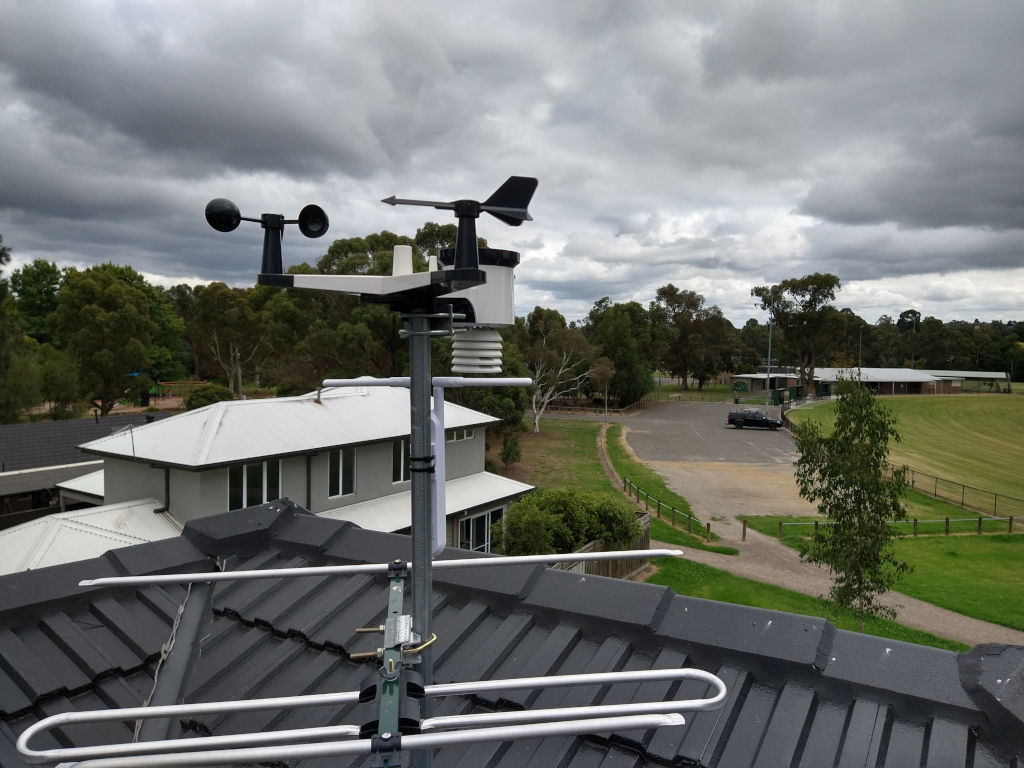
Weather Station
My wife told me she wanted to have an indoor/outdoor thermometer for the house. Her birthday was coming around so I went a little further. I got a full-blown WiFi met station and hooked it up to weather underground. I was in a position where there were no other stations nearby, and I could mount it up high enough to get clean wind, temperature, rainfall and solar readings. A good homelab should provide weather data.
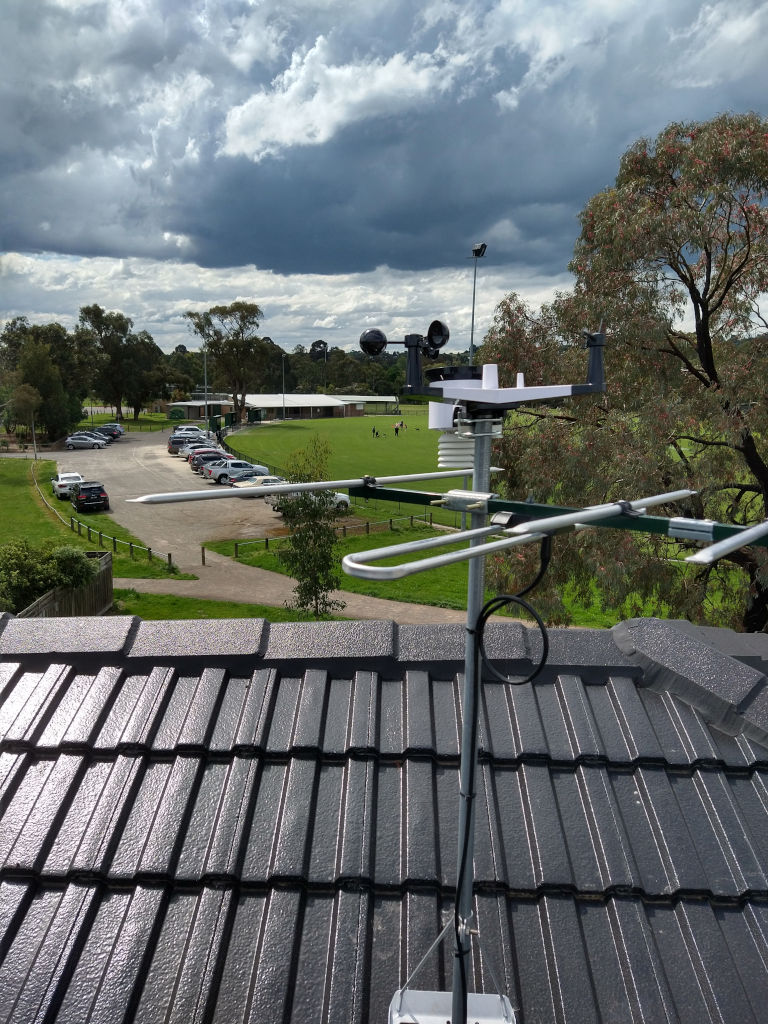
Public WiFi
My father in law managed to grab some Cisco 3600AP access points when the local university was upgrading their gear. Another friend who works at another university on their WiFi team, managed to hook me up with some comms cables and standalone firmware so I didn’t need to run a controller. I noticed that when I aimed them out a window, I could cover an entire football field. I had an idea.
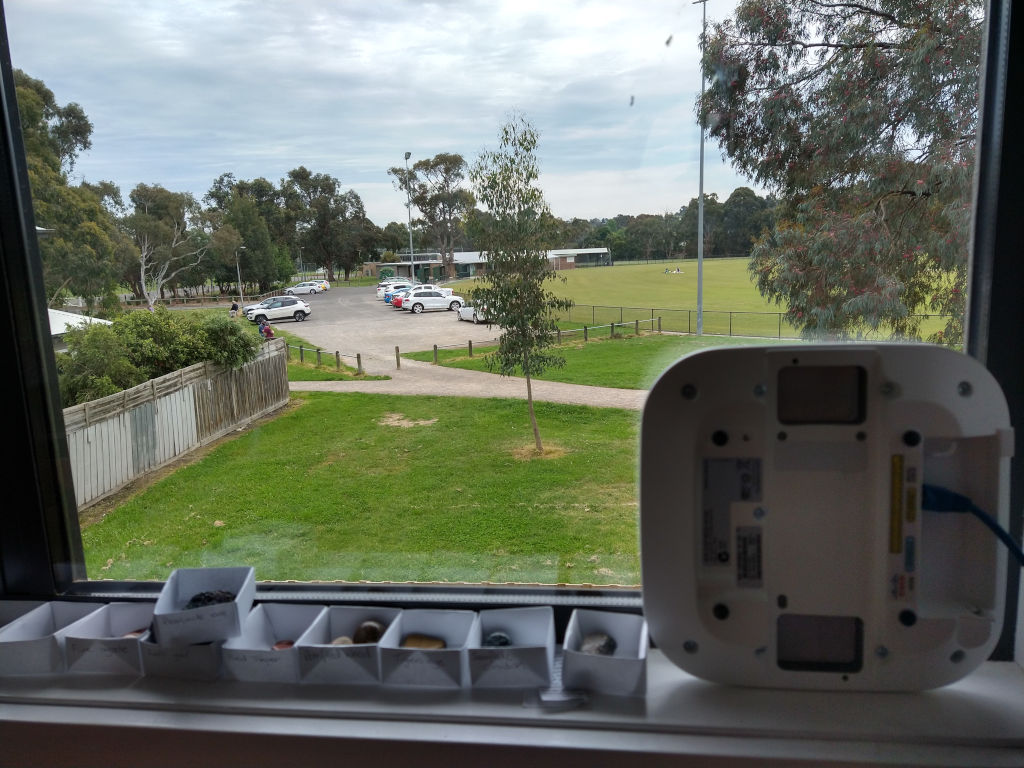
Remember the second CAT6A run I had in the roof space? I purchased a Unifi AC Mesh outdoor AP and mounted it alongside the weather station.
A quick word on Unifi: I tried running it with their standalone firmware, and it sucked. It no support for VLANs, multiple SSIDs or even IPv6.
I then installed their controller software. It’s proprietary, it runs on Java, and it sucks up 1GB RAM. It required creating an account with Unifi to get it running. It seemed to have two web interfaces running side-by-side. A feature complete, but dated UI paired with a modern, but incomplete interface. The two interfaces were quite inconsistent. IPv6 barely worked, and was clearly tacked on as an afterthought. I managed get VLANs partially working, but half the clients didn’t get an IPv6 address. The phrase “USG upgrade required” occurred in so many places, I questioned if this controller actually did anything. It felt like its only purpose was to upsell me. Around a week ago, they pushed an update where the dashboard became a literal advertisement. In the same week, they had a data breach where info was leaked from the account we were forced to create.
My Unifi AC Mesh is now running OpenWRT, and I am not going back. Sure, I had to hand-edit config files in vim over SSH to get a VLAN configured, but it is phenomenally further ahead of Unifi’s hot mess of a walled garden.
That said, the Unifi hardware is great, and I can stream HD Netflix from the other end of the oval. In fact, anyone can because there’s an unsecured guest network on it. No keys, no captive portals, no traffic shaping. Just straight onto the gigabit fibre.
Time for Clocks
One thing about having a low-latency connection with a decent server, you can run a stratum-1 NTP server with really good precision. All you need to do is wire up a GPS to a serial port (USB port for power only), and hook up the PPS (pulse per second) to PIN 1 (DCD) on RS232.
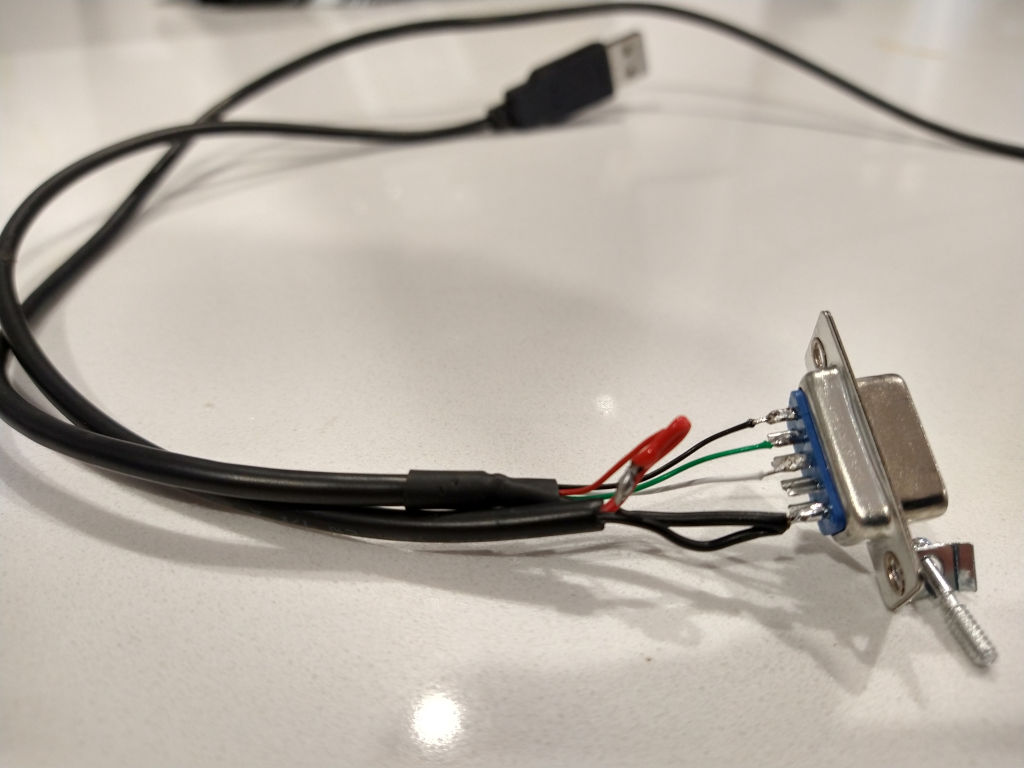

Because RS232 is interrupt-driven, the PPS pin is accurate to within about 2 microseconds (measured with gpsd and chrony). The plan is to join the NTP pool once I’m happy with it. For now, it provides accurate time broadcasts to the local network.
The Server
The server itself is relatively modest. It’s basically my old desktop board with some extra cards and drives. It’s an Intel Core i5-4690 with 16GB RAM. This particular chipset is one the first to boast decent h.264 hardware decoding through QuickSync, which lowers the power consumption of the security cameras and plex transcoding considerably. There’s 2x2TB 5400RPM drives (which are getting rather full). Important data is mirrored and encrypted; transient data such as surveillance recordings are striped. There’s a Hauppauge QuadHD tuner for Plex DVR, and an Intel i350 4-port gigabit NIC which I scored from a decommissioned server. I’m using a PCIe riser card for my NVMe drive, as there’s no on-board M.2 socket.

Well, that’s basically my homelab. Power is expensive here, and I’m getting power straight from the grid. I’m keeping it as low as I can get away with. It’s amazing how far you can stretch a single mid-level CPU these days.
Leave a Reply